

Ever feel like your avatar needs a glow-up, but you don’t have Photoshop? Over 2 million creators work on avatar styles each month—and not all of them have expensive software. Good news: You don’t need it.
You can create clean, stylish outfits without dropping a single dime or learning ten layers of Photoshop magic. You just need the right tools, a bit of creativity, and a walkthrough that doesn’t make you feel like you’re decoding ancient scrolls.
Let’s do that.
Quick Glance: What You’ll Get in This Guide
- Tools you can use instead of Photoshop
- Exact steps to design like a pro
- How to upload and sell your creation
- Bonus pro tips that’ll save you frustration
You Can Create Custom Roblox Shirts Without Photoshop—Here’s How
Photoshop isn’t the boss of your creativity. You can build your own avatar designs with free tools, smart templates, and a bit of patience. It won’t look perfect at first. That’s okay. Your first design just needs to exist.
You’ll need:
- A device (computer or tablet works best)
- A browser-based editor or app
- A template (more on that below)
- A Roblox account with access to the Avatar Shop
Here’s the deal: There are a few apps that let you add colors, patterns, and logos. You don’t need fancy tools. You just need control over layers and transparency.
Step 1: Pick a Free Tool That Lets You Add Layers and Work in PNG Format
Don’t panic at the word “layers.” You’re not baking a cake. You just want to stack designs in a way that looks clean.
Here are your top choices:
🧰 Option A: Alive Studio
Alive Studio makes it even easier by skipping the annoying file setup. You start with a layout already structured for you.
Want a shortcut? Use the preloaded Roblox shirt template inside Alive Studio. That way, you won’t stress over dimensions, resizing, or weird sleeve placements. You just focus on the fun stuff—design.
- Browser-based
- Includes preloaded layout
- Friendly for beginners
- No sign-up required
🎨 Option B: Photopea
Photopea feels like Photoshop’s chill cousin. Same vibe, less pressure. You get layers, smart objects, and blending options—all for free. The interface might look intense at first, but stick with it. It’s powerful and totally worth it.
Heads up: You’ll need to upload your own template here, but once that’s in, you’re golden.
- Photoshop-style layout
- Saves directly as PNG
- Free and no downloads needed
🧪 Option C: Pixlr
Pixlr keeps things light and fast. If you want to make something cool without a lot of clicking, Pixlr delivers. It’s simple, smooth, and gets the job done.
You’ll need to bring your own template and get creative with the limited tools, but it’s perfect for quick edits or first drafts.
- Fast and lightweight
- Drag and drop image editing
- Limited but useful for basic projects
Pick one and open it in your browser. Now the real fun begins.
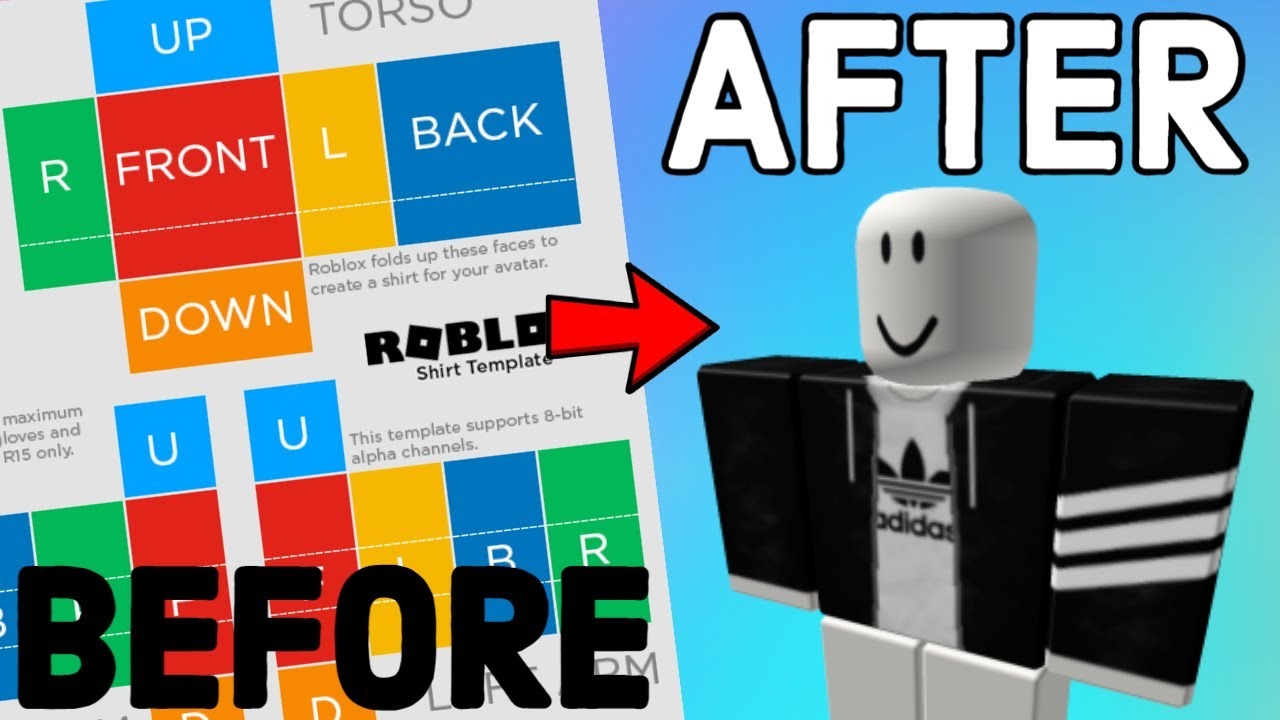
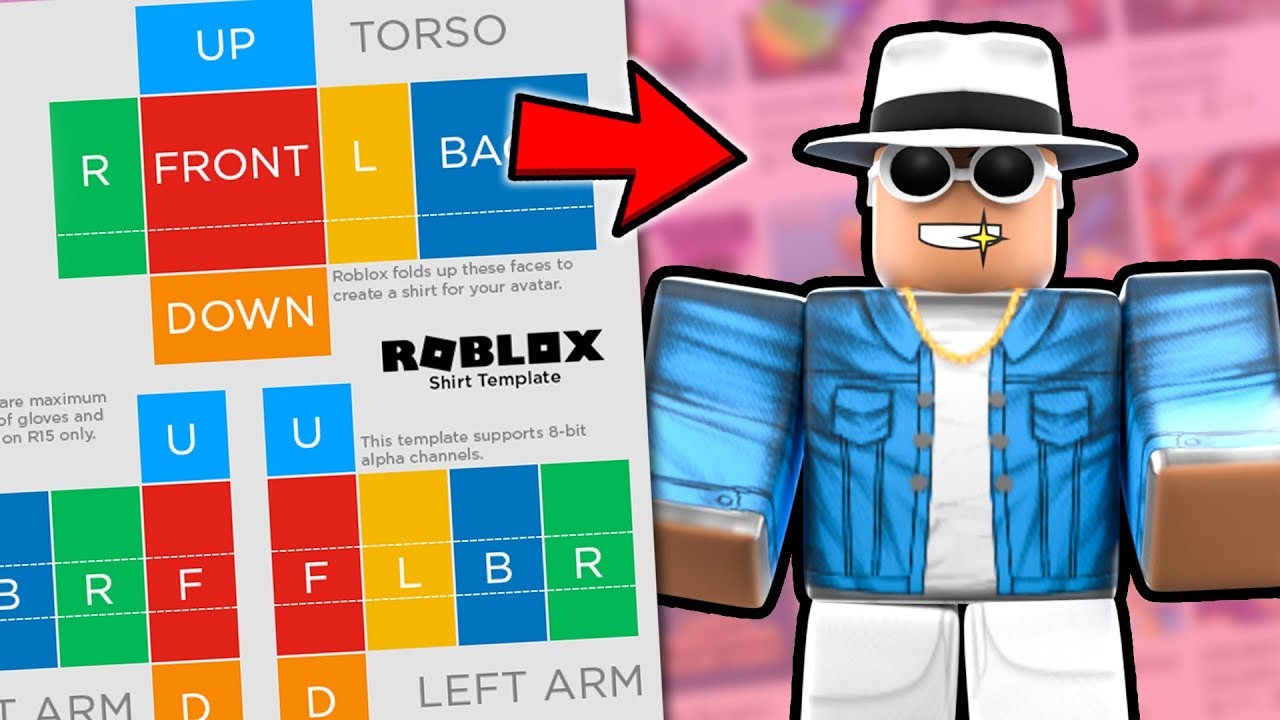
Step 2: Upload the Template and Use It As Your Base
Templates matter. They guide your design so your torso doesn’t turn into spaghetti on your avatar.
Some tools already have the layout loaded, but with some you’ll need to upload the .png file yourself.
The layout has three parts:
- Torso (front, back, sides)
- Arms (left, right)
- Shoulders and neck areas
Important: Stick to the square shapes. If you color outside those zones, your design will wrap wrong on the avatar.
Pro Tip: Work zoomed in. The lines are tight and pixels matter. One slip can throw off your whole fit.
Step 3: Add Your Personal Touches—Here’s What to Include
Now for the best part. Express your style. Go all out or keep it subtle. Both work.
Here’s what you can add:
- Color gradients or solid tones
- Logos, names, or icons
- Zippers, pockets, collars
- Patterns like flames, stars, or tie-dye
Use the brush or shape tool to design each panel. Think of each rectangle as a puzzle piece.
💡 Keep your front panel bold—it’s what others see first.
💡 Use symmetry for arms, unless you’re going for a mismatch look.
💡 Don’t forget to label layers. You’ll thank yourself later.
Step 4: Hide the Guidelines and Export the Final PNG
Templates come with gridlines and shapes to help you stay aligned. But those need to go before upload.
Steps:
- Hide the template layer.
- Keep only your design layers visible.
- Export as PNG with transparency ON.
Check file size—it should stay under 585 KB. If it’s too big, flatten layers or reduce resolution slightly.
Double-check your export. You should only see your design—no lines, no text, no gray boxes.
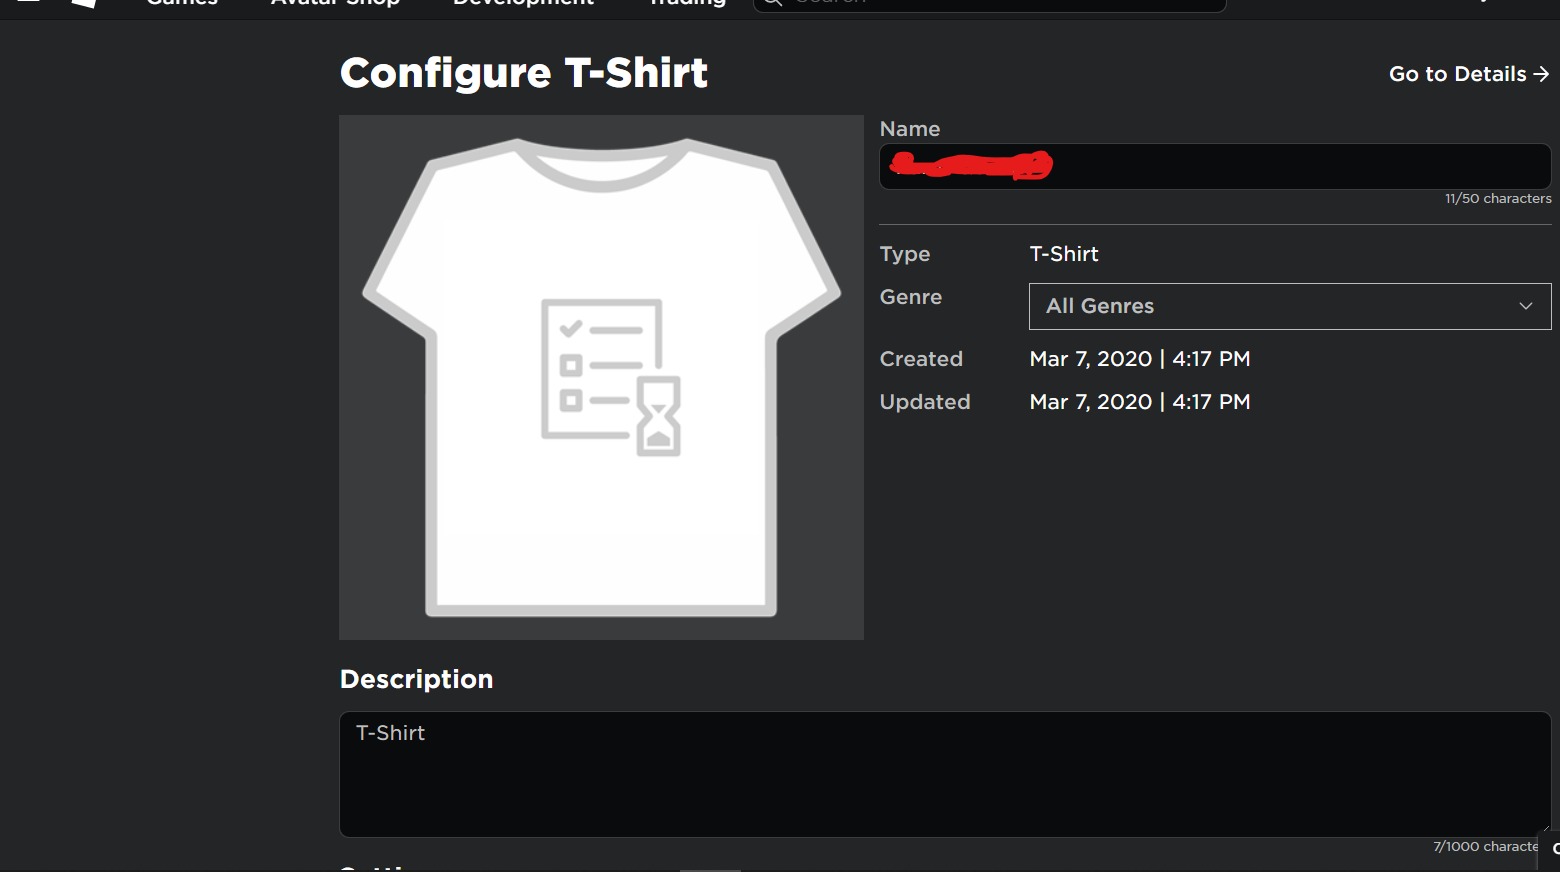
Step 5: Upload to Roblox and Test It on Your Avatar
Once your masterpiece is ready, head to the Creator Dashboard.
- Log into your Roblox account
- Click “Create” → “Avatar Items”
- Select “Shirt”
- Upload your file and give it a name
- Pay the small upload fee (10 Robux)
Wait a few minutes. Roblox will process your upload. Sometimes you’ll see “pending.” That’s normal.
Go to your avatar editor and try it on. The sleeves might look off at first. Zoom in. Rotate. If anything looks weird, take notes and fix it in the editor.
I totally forgot to flip my left arm layer once—it looked like my avatar was wearing a cape sleeve. Don’t be like me.
You Can Sell Your Designs—But Watch Out for These Rules
Selling is tempting. But don’t rush it. Your design must follow community rules.
✅ You can sell once your account is verified
✅ Your design must be original (no stolen logos)
✅ Avoid glitchy patterns or flashing elements
✅ Set a fair price (5–100 Robux is average)
You get a cut of every sale. Want to boost your chances? Add a matching set—top and pants. That combo tends to sell better.
Common Mistakes New Designers Make (and How to Avoid Them)
Let’s be honest. First drafts rarely work. You will make mistakes. But you can dodge a few traps.
🚫 Using the wrong dimensions (stick to 585 x 559 px)
🚫 Forgetting transparency
🚫 Leaving template lines visible
🚫 Overcrowding with logos or text
🚫 Uploading without testing
If your design looks “off” on the body, it’s probably a layering issue. Go back to step 3 and double-check your placement.
Where to Find Inspiration Without Copying Anyone
You don’t need to start from scratch every time. You just need good sources.
🖼️ Look at real streetwear designs
🎮 Browse avatar items in the Roblox catalog
📱 Scroll fan groups on TikTok or Instagram
🧵 Sketch ideas on paper before going digital
Make a design board. Pick 3–4 styles you like and remix them into something original. No one remembers the copycats. People remember the twist.
Summary and Final Reminder
You don’t need Photoshop. You don’t need a design degree. You just need a clean layout, a creative mood, and some trial and error.
Start small. Test often. Learn fast.
Most important: don’t quit after your first weird-looking upload. We’ve all been there. That’s how it begins.
FAQ – Quick Fixes and Answers
Q: Can I make shirts on mobile?
A: Sort of. You can sketch ideas, but full layout editing needs a computer or tablet.
Q: What size should my file be?
A: 585 x 559 pixels. Always.
Q: Do I need premium to upload?
A: No, just pay 10 Robux per upload.
Q: Can I use copyrighted logos?
A: Nope. Keep it original to avoid takedowns.
Q: What if my design looks glitchy?
A: Double-check the sleeve and torso alignment. Zoom in. Use preview mode.
Ready to design your own piece? Start with the Roblox shirt template and experiment. Your first creation might not win awards—but it’ll unlock the confidence to make the next one even better.
Let’s make the avatar world more stylish—one square at a time.


