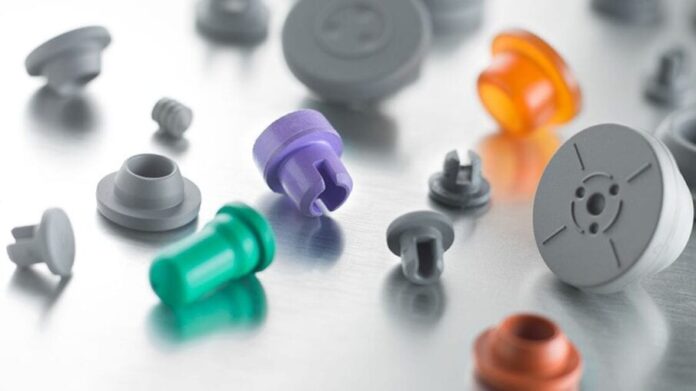
In many different situations in life, we’re forced to work on something that isn’t quite “compatible” with water. For example, working on an experiment in the laboratory and using a mixture in which water is not allowed can be a tricky situation. All of the tubes and flasks need to be sealed off in order to prevent water from leaking inside and ruining everything.
But, the lab isn’t the only place where we need to seal off holes in order to stop water flow. Rubber stoppers are used in many different fields of life as well. Imagine that you have a pipe burst and you don’t know how to stop the water from coming through and causing tons of materialistic damage in your home. Well, one of the ways is by using a rubber stopper, along with a few other DIY fixes that we’re about to tell you about in today’s article.
We feel like not many people know how useful these little things are, so we decided to dedicate an entire guide to them. Let’s take a look at what you need to know.
1. Cut a hole in the material according to the stopper’s shape
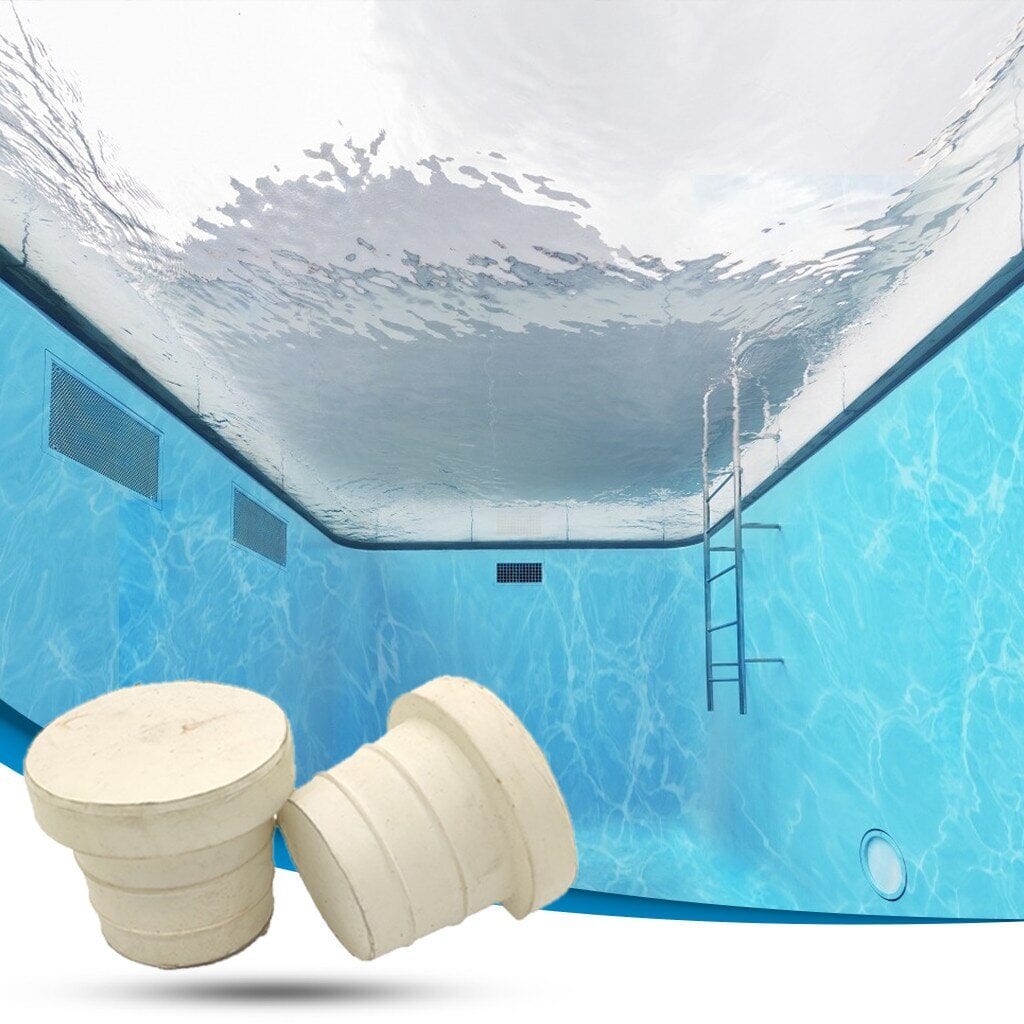
If you want to create a hole in a material in order to purposely fit a rubber stopper there, the best way to start is by creating a slightly smaller one than the stopper’s size itself. People usually do this when they want to create an “alternative” accessible hole in a material besides the main one that’s probably already sealed off in some type of way. In a thermos for example. Or, in a rubber swimming pool in case you want to get one more way of filling it up with water.
Cut a hole according to the stopper’s shape, but cut is slightly smaller. Then try to fit the stopper in there by squeezing it. If the stopper is modular and allows you to open it and close it, even better, you can access that hole any time without having to remove the stopper. Click here if you are interested in viewing different types of stopper plugs.
2. Play with temperature in order to fit and seal better
It is common knowledge that materials shrink when it’s cold and they expand when the temperature starts to rise. The same thing applies to rubber stoppers. If the Rubber Stopper doesn’t fit in the hole just for about two or three millimeters, you can put it in the freezer, then take it out an hour later and try again.
If it fits, use a hair dryer in order to heat it up so that it expands in the hole, sealing it off completely. You can use different heating methods as well, but be careful not to use fire because it can be a hazard, or you can damage both the rubber stopper and the material around it. Rubber melts when exposed to really high temperatures, which is why we don’t advise using lighters or anything that creates a flame.
3. Order the exact form of stoppers you need for your case
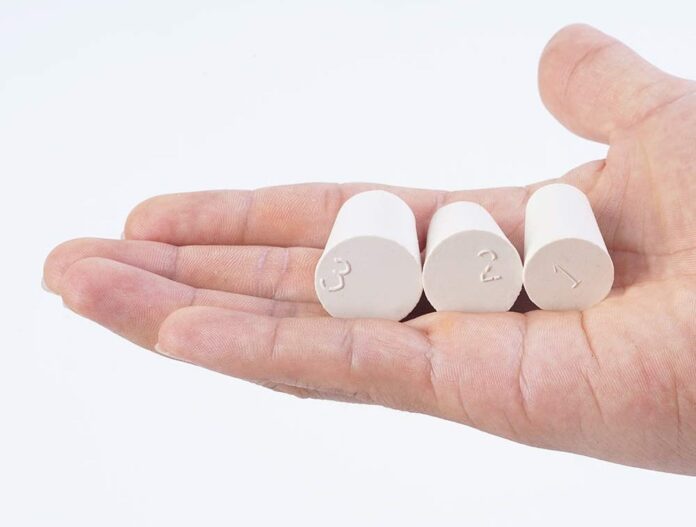
Back in the past there were probably only none or two different types of rubber stoppers. Thankfully, nowadays that isn’t the case anymore. Today we have tons of different types and shapes of rubber stoppers, and the materials vary as well. Some are circular, others are square-ish, then you have the ones that are softer and the list goes on. If you need to seal off a hole that’s not in a common shape, you can even order custom-made ones, but chances are you’ll have to wait for them slightly more. It is an option though, as many manufacturers accept such orders nowadays.
4. Experiment with different rubber stopper materials
Some situations call for a very soft rubber stopper that can be removed at any time. Flasks are a good example. You don’t need to seal off something that’s under pressure, you just need to protect the liquid from pouring out in case the flask flips over or something like that. But, other situations require a much sturdier and harder rubber stopper. If you are trying to seal off an entire swimming pool for example, you need something that’s going to hold. Something that won’t fold under pressure. Experiment with different stopper materials, it’s the best way to know what you need for your particular situation.
5. Use modular rubber stoppers if required
Last but not least, modular rubber stoppers are the perfect choice for situations where you can’t fit anything into the hole, or it’s very tricky so you need to “combine” tow different parts of the stopper in order to get it done. Thankfully, such stoppers exist nowadays, and they are not hard to find either. Most popular manufacturers already make them, so order a bunch online because you will never really know when you’ll need them. They can be a real life saver.
Conclusion
Any laboratory is incomplete without a flask, but those flasks come into play and are useful only with rubber stoppers. Flasks are used for mixing or experimenting with any sort of liquid, and that liquid needs to stay protected and isolated inside. The best way to do this of course is by using a tiny little thing called a rubber stopper. These are probably one of the most useful inventions, and they’re pure genius considering the material they’re made of.
Rubber is great for sealing off because you can squeeze it in order to fit it into a tighter hole, but then it expands because it’s under less pressure once it’s inside. This completely seals off the place and closes it hermetically, preventing even air from getting in or out. Great for labs, great for home usage, great for any DIY projects you might be doing in the near future. For more information on how to use them properly, as well as a few tips and tricks, check out the content above.

