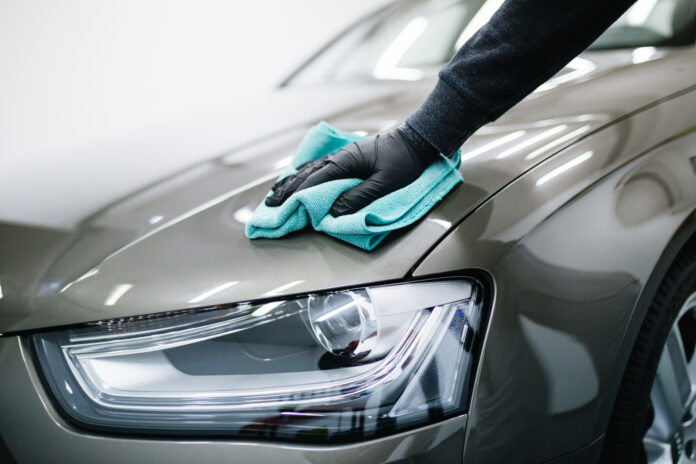
Your car’s paint is one of the most important and noticeable features of your vehicle, providing an eye-catching shine and protecting it from the elements. But if your vehicle isn’t properly maintained over time, the paint could get faded, scraped, or damaged. Regular detailing will keep your vehicle appearing brand new while extending the life of the paint.
Car detailing is a great way to keep your vehicle looking its best and protect it from further damage. Usually, it involves a thorough cleaning and conditioning of the paint, which may include washing, waxing, polishing, buffing and sealing.
In this article, we’ll explore the positives of car detailing and offer advice on how to prolong the life of your vehicle’s paint. This car detailing guide was compiled with the advice of Ryan’s Car Detailing for you to preserve the quality of your vehicle forever.
What is car detailing?
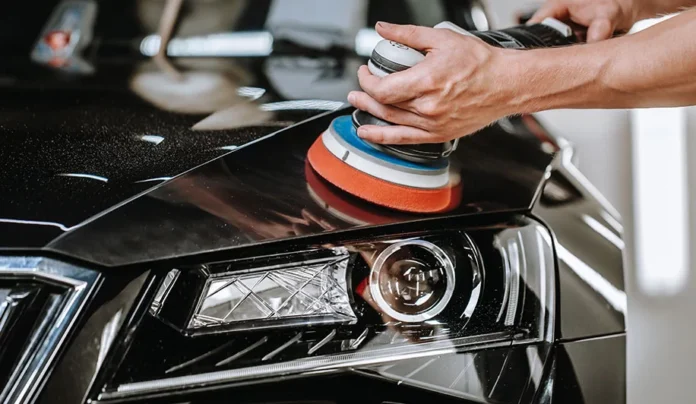
First and foremost, let us define car detailing. Cleaning and repairing your vehicle’s exterior and interior to a like-new state is called detailing. The ultimate objective is to protect your vehicle from the harsh environment it encounters on the road while also giving it the best possible appearance. The process significantly differs from simple washing. It’s a thorough process that demands careful attention to every little thing.
The importance of washing your car before detailing
Understanding the significance of starting with a clean vehicle is essential before we dive into the steps of detailing. An important phase that should never be skipped is washing your vehicle before detailing. Washing not only helps to eliminate dirt and grime from the surface, but it also helps to get your vehicle ready for the process.
When you wash your vehicle before detailing, you’re essentially creating a clean slate for the process. By removing any surface dirt, dust, or debris, you’re able to see the true condition of the paint job and identify any areas that may need extra attention during the detailing process. Additionally, washing before detailing helps to prevent any particles from becoming embedded in the paint, which can cause scratches or damage to the surface over time.
Moreover, when you wash your car before detailing, you’re also helping to ensure that the detailing products work more effectively. Dirt and debris can act as a barrier, preventing products from fully penetrating the surface of the paint. By washing your car beforehand, you’re removing this barrier and allowing the detailing products to work more efficiently, which ultimately leads to a better end result.
The main step-by-step process of car detailing
Now that we’ve got a clean vehicle to work with, let’s dive into the step-by-step guide to car detailing. Here’s the step-by-step process for detailing your vehicle’s exterior:
Step 1: Start with a clean car
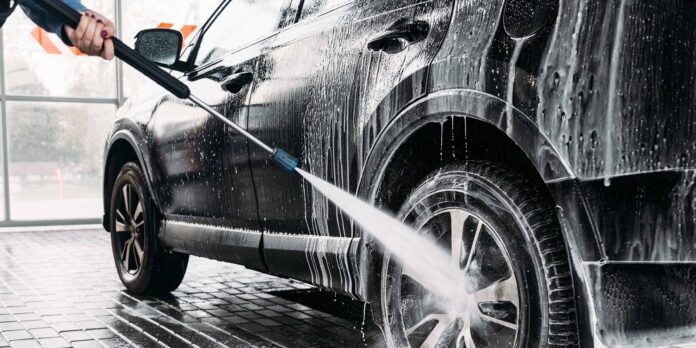
As we discussed earlier, washing your vehicle before detailing is very important, and it’s the first step in the detailing process. This will allow you to clearly see the scratches and swirls by removing the dirt layer on your car, making the process easier. Also, don’t forget to use a high-quality car wash soap and a soft sponge or mitt to avoid scratching the paint.
Step 2: Clay Bar
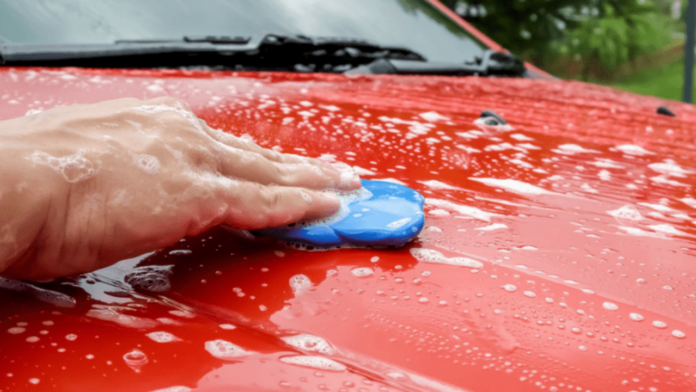
Once your car has been fully cleaned, the next step is to use a clay bar to remove any contaminants that may have become embedded in the paint’s surface. A clay bar is a pliable substance that is designed to take up and remove small particles that regular washing cannot. This procedure is especially critical in regions with high levels of air pollution or near construction sites, where the paint might become polluted with microscopic particles of tar, tree sap, or other debris.
Step 3: Polishing
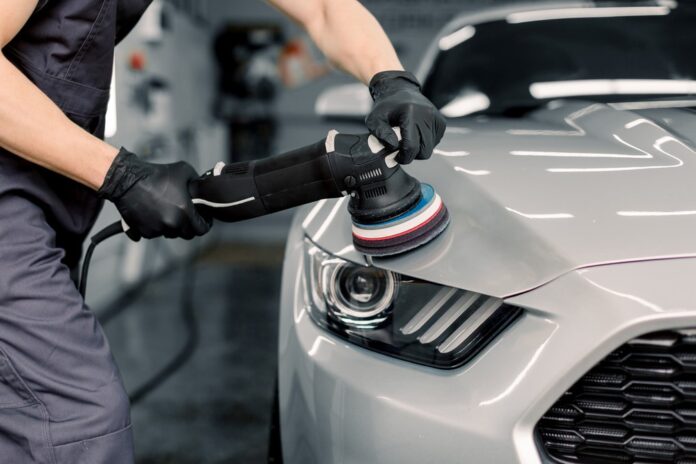
The next step in detailing is polishing your vehicle. This procedure aids in removing any scratches, swirls, or other flaws that might exist on the paint’s surface. For this stage, you’ll need a polishing product and a buffing pad. Apply the polishing compound evenly while working in small sections, then buff the paint’s surface until it is glossy and smooth. This step requires careful attention and patience, as you need to make sure the compound is applied evenly and that you don’t buff too hard, which can result in burning the paint.
Step 4: Waxing
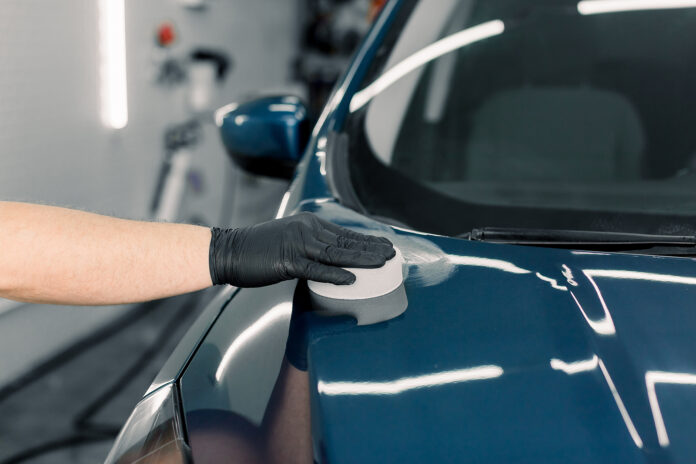
The last step in the detailing procedure is waxing. Using a high-quality vehicle wax helps give your automobile’s paint finish a rich, beautiful shine while shielding it from the weather. Use a soft applicator pad and a high-quality vehicle wax to apply the wax in small parts by pressing it into the paint’s surface in circular motions. This step is essential because it aids in forming a shield between the paint and the outside environment, which can help shield it from harmful factors like UV rays and acid rain.
Maintaining your car’s paint job after a detailing process
Once you’ve gone through the process of car detailing, it’s important to maintain its paint job to help keep it looking great. Here are some tips for maintaining the paint job:
- Wash regularly using high-quality cleaning products and tools
- Avoid parking in direct sunlight for long periods of time
- Use a car cover to protect your vehicle when it’s not in use
- Avoid using harsh chemicals or abrasive materials on your car’s paint
- Keep your car’s surface clean and free of debris
These simple steps will help keep your car’s paint job looking great for years to come. By following these tips, you can maximise the life of your car’s paint and make sure it looks its best.
Conclusion
Regular car detailing is essential for maintaining resale value and condition. Follow this guide to properly care for your car on the outside. First, make sure the vehicle is clean. Second, utilise only high-quality products. Third, schedule regular paint maintenance. Put in a little extra effort now to extend your vehicle’s lifespan and keep it looking like new for years to come.

