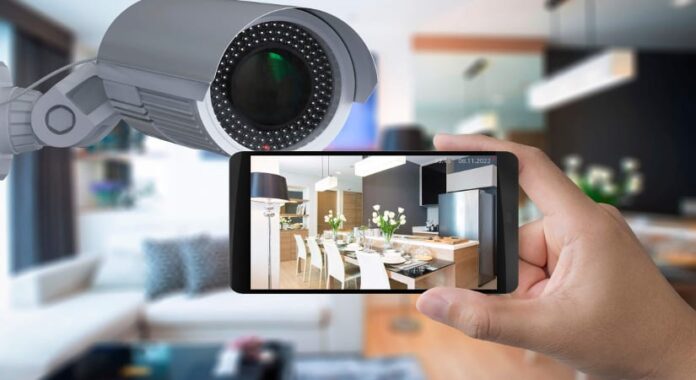
Our home is the place where we want to feel the safest, and the best way to achieve this is by installing a security monitoring system. However, most of these systems are designed with the traditional home set-up in mind. If you own a mobile home, you’re probably at loss on how to get your security cameras up and running.
You could always hire a professional CCTV installer such as the titusalarmandcct, but if you’ve decided to go with the DIY route, we’re here to help. In this short guide, we’ll tell you everything you need to know about setting up your security system yourself.
So, without any further ado, let’s get started!
Create a plan
The first thing you want to do is to grab a pen and a piece of paper and plan out where you want your security cameras installed. This will help you determine what types of cameras you’ll need to purchase for your new system. Buying the cameras without a detailed plan in front of you could prove to be a gigantic waste of time and money.
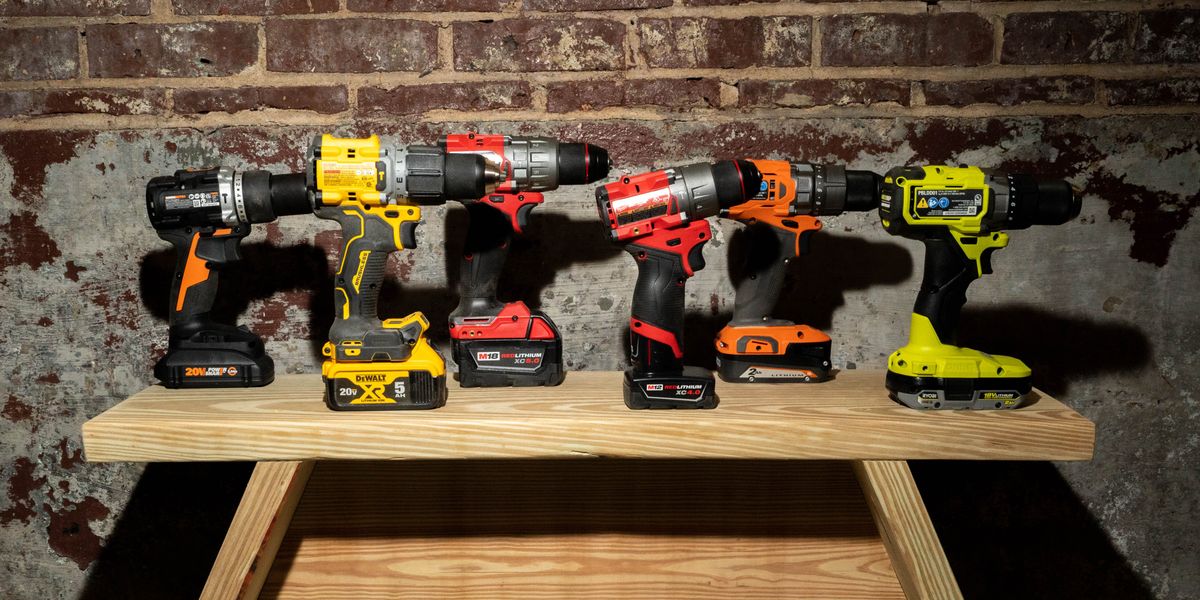
What are the areas you want to be monitored? How many cameras would it take to cover the entirety of your home? Where do you want to install them? Is it outdoors or indoors? Do I have the necessary installment tools (drill, hammer, wire clips, screws)?
Once you have an answer to all of these questions, you’re free to go shopping for some cameras! If you’re not sure which model to choose, make sure to do some research beforehand. Read up on some online reviews or ask a professional CCTV installer for some advice.
Install the central recorder
No matter if you opt for wired or wireless cameras, almost every new model requires an internet connection for live streams and alarm notifications. So, make sure to install your recorder somewhere near your WiFi router.
Other than that, your recorder has to be positioned in a secure, hidden place where a potential intruder won’t be able to find it. So, ensure you hide it somewhere where it won’t be easily spotted. Otherwise, all of your hard work might amount to nothing! There’s no point in having a security system if the tapes get stolen during a break-in.
Also, you’ll have to get an external hard-drive for your recorder to ensure there’s enough storage for all of your CCTV footage. The amount of space you’ll need will depend on your specific needs and preferences, so do your research until you find the optimal hard-drive for your recorder.
Check if everything is working properly
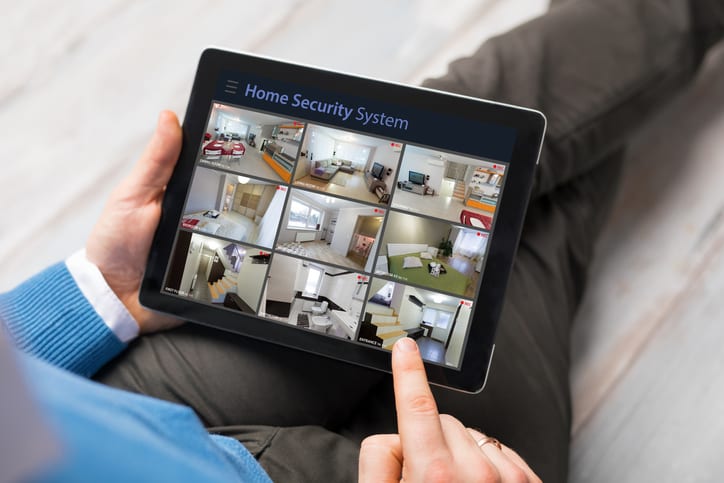
When you’ve found the perfect place for your recorder, it’s time to connect it with the cameras. You’ll need to check whether the cameras are transmitting their feed to the recorder properly. If you install the entire system without doing the check-up, you might be forced to redo the entire process all over again.
Other than that, make sure to check whether the live feed is working properly or not. Try placing the cameras in their planned positions to ensure you’re getting accurate results. You’ll also be able to see the image quality you’ll be getting once the system is installed in your home.
If everything is working as expected, then it’s time to get your tools and start the installation!
Installing the cameras
We recommend you install your security cameras as high up as you can. This will give you the optimal angles and you’ll be able to cover a wider amount of space with a single camera.
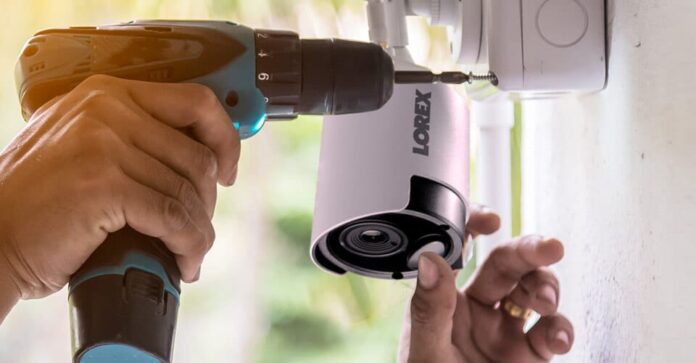
Now, to the technical part. First, you’ll need to draw some marks on where you’ll want to install the cameras. This will make positioning much easier, and it will prevent you from getting an unnecessary hole in your wall. Then, take your drill and simply drill some small holes for the cables and screws. After you’ve put your cameras in place, rotate them to get the angle you need. Remember to secure them tightly in place so they’re not easy to tamper with.
Since there are many different types of security cameras, your best bet is to follow the manufacturer’s guide. No matter how simple the process seems to be, ensure you’ve read the manual to check if there are any special steps you need to take during installation.
Recheck the system
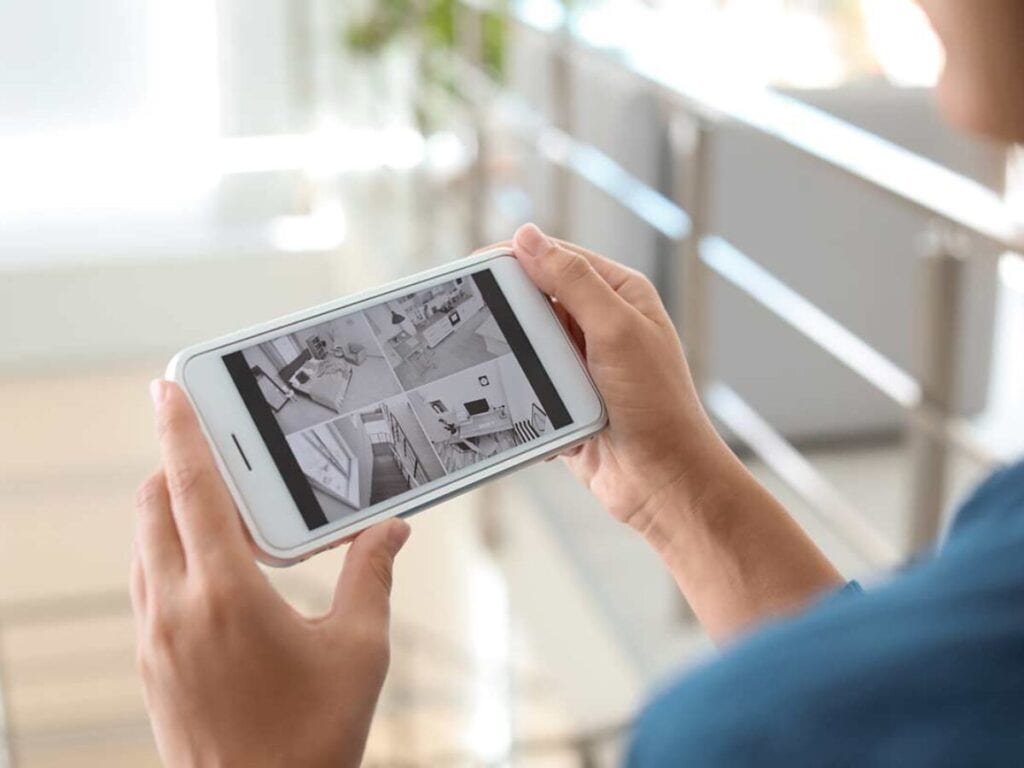
Once you’re done with the installation, it’s time to do one last checkup. See whether the cameras are relaying their feed properly, and make adjustments if need be.
While many people prefer hiding their cameras, leaving them in the open can discourage intruders from trying to tamper with your home. However, you’ll want to ensure that they’re tightly secured and that they can’t be rotated from a distance (by using a long object or something of that nature).
If all of this seems too complicated, call the professionals
While installing the monitoring system by yourself isn’t something utterly complex, hiring a professional CCTV installer might be a better choice, especially if you’re not very handy.
They’ll be able to find the optimal locations for placing your monitoring devices, and you’ll also get a lot of useful advice. What’s more, improper installation can often lead to malfunctions and other issues that are much better if avoided. A professional installer will have the necessary tools and the experience to provide you with a perfectly installed security system in no time whatsoever.
The bottom line
Installing a security system in your mobile home is a simple process. All you need to have is a couple of screws, a screwdriver, a drill, and a couple of wire clips. Take all of your equipment and simply follow the instructions from the manual that came with the cameras.
This shouldn’t take too much time nor energy to be done, but if you’re not very adept at installing electronics, we suggest you seek some professional assistance instead.
Overall, remember to do some research so you can find the CCTV system that completely fits your needs and goals. Position your cameras and your recorder strategically, and enjoy having a perfectly secured home.

